
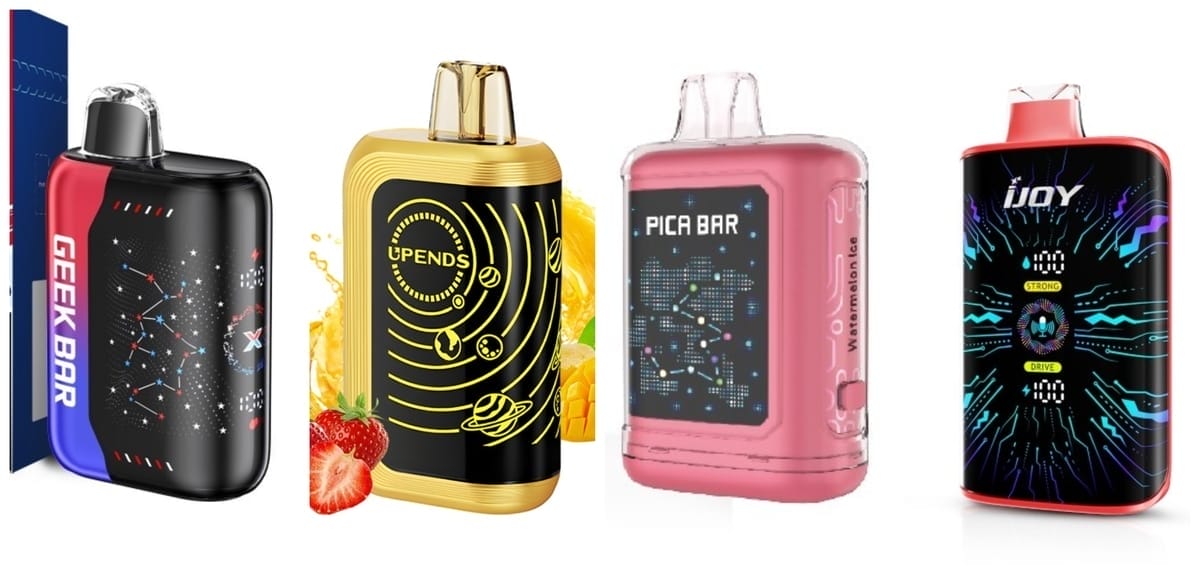
What Do Vape Screens Show? Understanding Your Vape Screen, Vape Battery Indicator, Vape Liquid Indicator, and Vape Screen Symbols

What Do Vape Screens Show? Understanding Your Vape Screen, Vape Battery Indicator, Vape Liquid Indicator, and Vape Screen Symbols
Digital displays have transformed modern vaporisers from simple draw-activated tubes into intelligent personal devices. Instead of relying on ambiguous flashing light sequences, modern users can now glance at a built-in vape screen to check essential performance metrics in real time. Knowing how to interpret your vape battery indicator, monitor your vape liquid indicator, and decipher various vape screen symbols ensures you get consistent flavour, avoid unexpected power loss, and tailor your overall experience to your exact preferences.
Whether you are using a compact daily pod system or an advanced box mod, the digital interface serves as your primary diagnostic dashboard. As hardware technology continues to evolve in 2026, understanding what your screen is communicating will help you get the most out of your hardware while keeping your device running smoothly.
Decoding Common Vape Screen Symbols on Modern Devices
The small visual graphics shown on a digital display are designed to convey operational data quickly. While user interfaces vary between manufacturers, most devices rely on a standardised set of intuitive icons to keep you informed.
Battery: 78% Droplet: High Wattage: 18W Mode: ECO
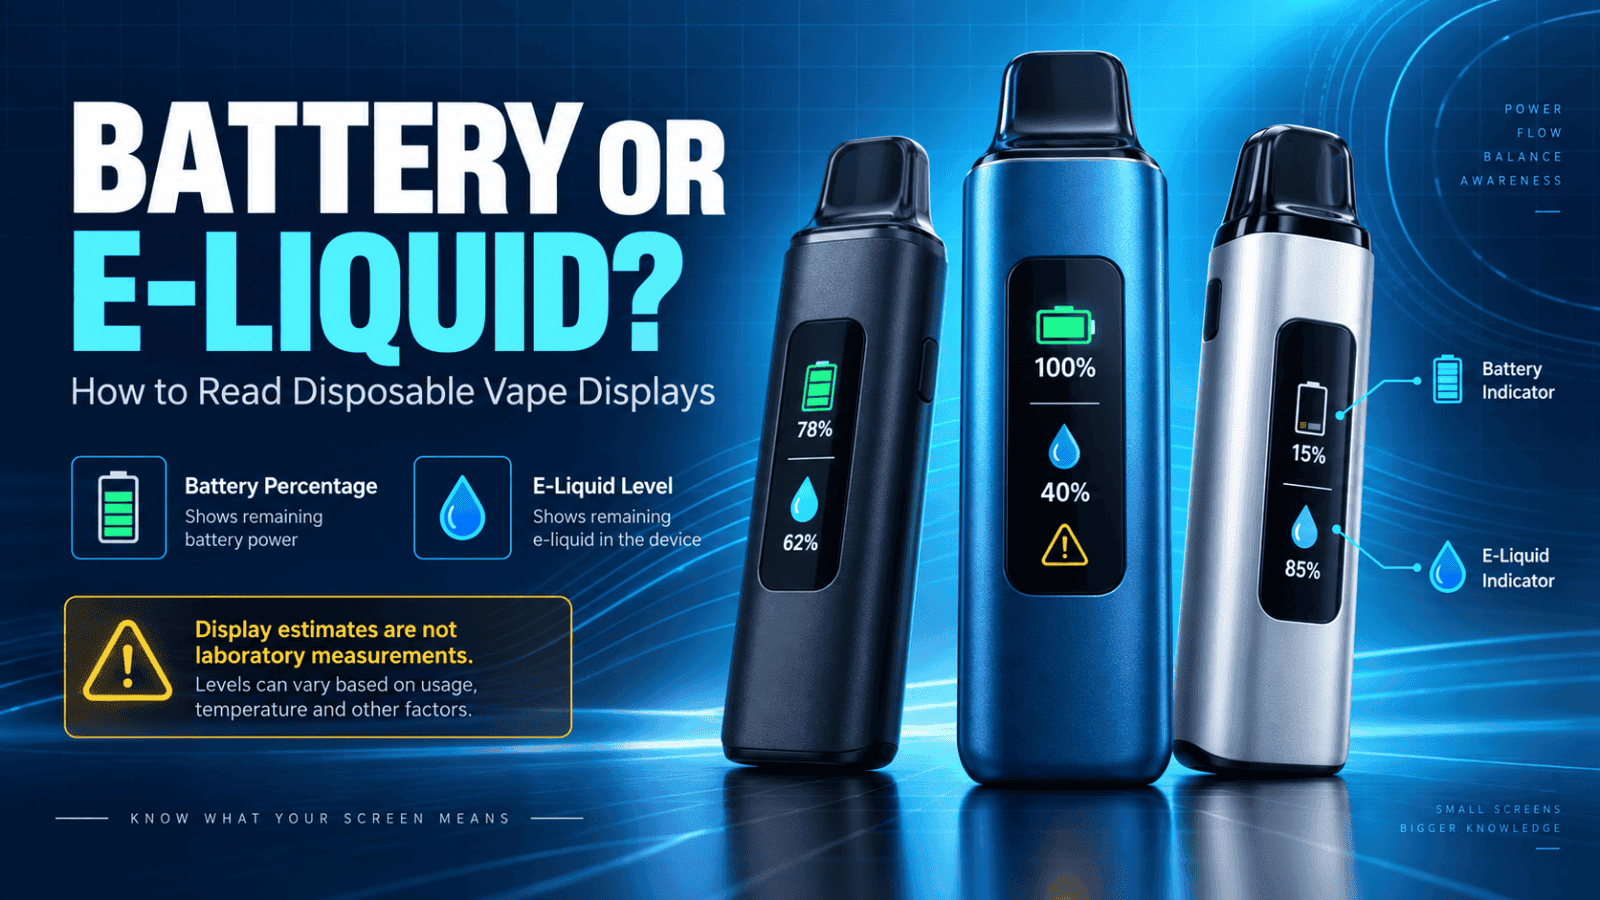
A close-up of a vape device screen displaying battery at 78%, a droplet icon indicating high e-liquid, wattage at 18W, and ECO mode.
Power and Energy Symbols
The most prominent symbol on almost every digital display relates to power. Manufacturers commonly use an outlined battery cell or a lightning bolt symbol.
- The Battery Silhouette: This icon features vertical or horizontal fill bars or an embedded numerical readout. As you use the device, the internal fill drops to represent diminishing energy reserves.
- The Lightning Bolt: Often positioned next to the cell graphic, this symbol illuminates or pulses when the device is plugged into a USB-C power source, confirming that active charging is underway.
E-Liquid and Reservoir Symbols
To help users track remaining capacity, modern displays incorporate fluid-specific graphics.
- The Droplet Symbol: A single water drop or a series of droplet icons typically represents the available volume of e-liquid. When the tank or internal reservoir is full, the droplet appears solid or flanked by full indicator bars.
- The Juice Vial / Bottle Icon: Some user interfaces depict a miniature bottle silhouette that empties progressively from top to bottom as you draw on the mouthpiece.
Setting and Navigation Icons
More complex interfaces include secondary symbols to show hardware status:
- Padlock Symbol: Indicates that the wattage adjustment buttons are locked to prevent accidental power changes in your pocket.
- Puff Counter (Counter / Timer Icon): Shows either the total number of inhalations taken or a live stopwatch measuring the length of your current draw in seconds.
- Flame or Rocket Graphics: Frequently employed on performance models to indicate high-power output modes.
How to Read Your Vape Battery Indicator and Charging Status
Power management is essential for consistent vaporisation. A vape battery indicator allows you to plan your recharges rather than being caught with a flat device during your commute or workday.
Modern vaporisers convey battery capacity through two primary display styles:
1. Segmented Bar Displays
Segmented indicators divide the total battery capacity into three, four, or five discrete blocks.
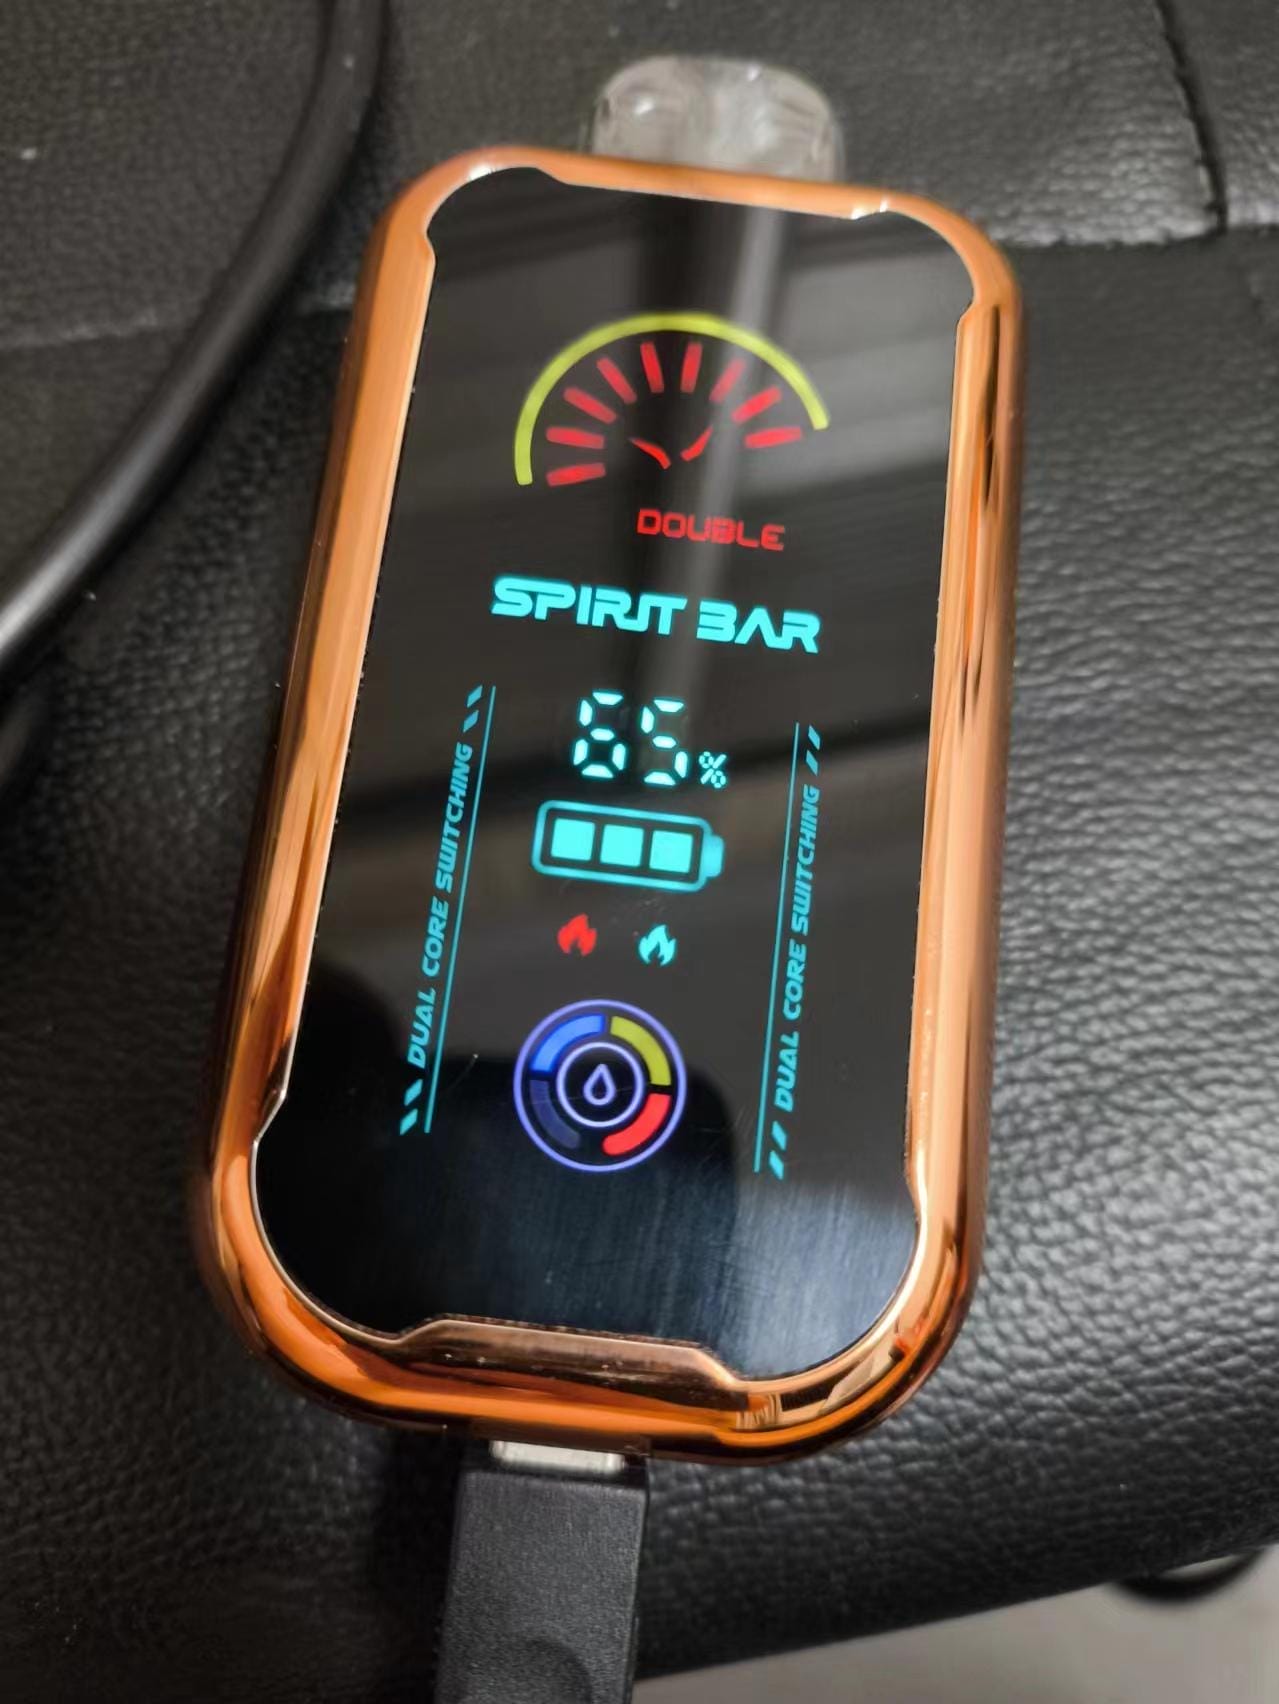
A vape screen displaying a battery indicator with segmented bars, showing remaining charge.
- All bars illuminated: The internal cell is operating at or near full charge.
- Two bars remaining: The device has entered mid-capacity, which may result in a slight dip in vapour temperature on unregulated devices.
- One flashing bar: The cell voltage has dropped to the minimum operating threshold, signalling that the device requires immediate connection to a charger.
2. Numerical Percentage Gauges
Higher-tier vaporisers and modern smart devices display an exact percentage readout ranging from 100% down to 0%. This provides a much clearer view of your remaining run time, making it easier to decide whether you need a quick top-up before heading out.

A vape screen showing battery capacity as a numerical percentage, e.g., 78%.
When connected to a power supply, the screen will generally cycle through an animated filling sequence. Once the battery reaches full charge, the screen will either display a steady 100%, show a solid battery silhouette, or turn off automatically to prevent unnecessary display power draw.
Managing Capacity with a Vape Liquid Indicator
Running out of fluid unexpectedly is one of the most frustrating aspects of using an electronic vaporiser, frequently resulting in dry, burnt hits that ruin the internal heating element. The introduction of a dedicated vape liquid indicator addresses this issue by providing a visual metre on the screen.
How E-Liquid Gauges Display Fluid Levels
Liquid indicators generally mirror the format of the power gauge. On graphical screens, this appears as:
- Graduated Droplet Metres: A large teardrop icon accompanied by three to five distinct level segments.
- Percentage Readouts: Some displays assign an estimated percentage value to remaining fluid, counting down from 99% or 100% down to 00%.
- Colour-Coded Warnings: Interfaces with full-colour screens may shift the liquid graphic from blue or green (full) to amber (low) and finally red (empty).
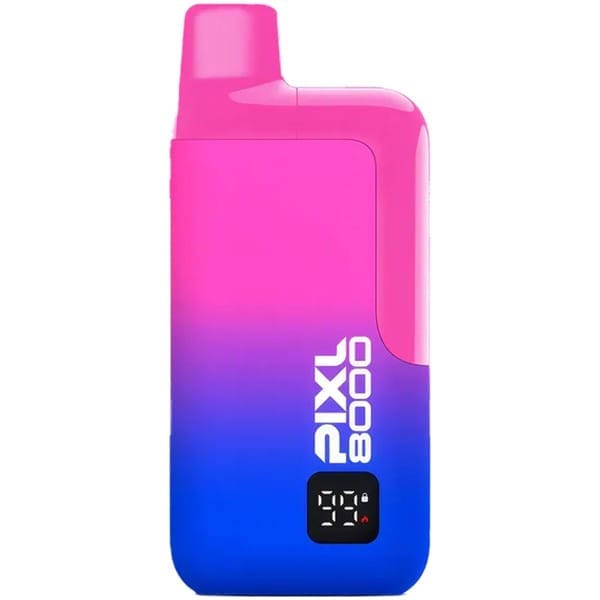
A vape screen displaying a color-coded e-liquid graphic, changing from blue/green (full) to amber (low) and red (empty).
By keeping an eye on your liquid gauge, you can tell exactly when it is time to refill your pod, replace an integrated cartridge, or switch out your setup before the coil suffers heat damage.
Performance and Power: Vaping Modes Explained
Beyond simple consumable tracking, modern vaporiser displays allow you to monitor and adjust your output settings. Many devices operate at standard baseline settings—such as an 18W power readout on single-pod configurations—while offering customisable performance presets.
- Mode Switch Overview:
- ECO MODE — -> Lower output, extended battery and liquid life
- BOOST MODE — -> Elevated power, intensified vapour and warmth
- TURBO MODE — -> Maximum power, rapid ramp-up time
Eco Mode
When Eco mode is selected, the internal chipset reduces wattage output to conserve both electrical energy and e-liquid. This mode is suited for everyday use when you want to extend the time between recharges and make your fluid supply last as long as possible.
Boost Mode
Activating Boost mode increases the wattage delivered to the coil. This produces a warmer draw, denser vapour clouds, and a more pronounced flavour profile, though it consumes battery charge and e-liquid at a noticeably faster rate.
Turbo Mode
Found on performance-oriented models, Turbo mode pushes the output to its upper limits. It delivers instantaneous coil ramp-up, making it popular among experienced users who prefer an intense, immediate draw.
Display Hardware Comparison: From Segmented LCDs to Full-Colour Panels
The technology behind digital vaporiser screens has diversified significantly. Depending on the design and purpose of the device, you will encounter different display panels.
| Display Type | Typical Hardware Specifications | Primary Telemetry Displayed | Best Suited For |
|---|---|---|---|
| Segmented Monochrome LCD | High-contrast black/white or tinted backlit glass panel | Battery outline, simple droplet icon, mode abbreviation | Compact pod devices and everyday carry setups |
| 0.96-Inch Colour Screen | 0.96-inch TFT or OLED colour display (e.g. Hell200 mod series) | Detailed wattage (e.g. 18W+), individual battery cells, puff timers | Advanced box mods, rebuildable setups, sub-ohm systems |
| Full-Face Smart Display | High-definition integrated front panel | Dual fluid/power percentages, animations, interactive themes | Multi-tier smart vaporisers with adjustable power modes |
Segmented LCDs
These are simple, durable, and energy-efficient. They rely on fixed segments that light up to form specific numbers and pre-cut symbols. Because they consume negligible power, they have minimal impact on your daily battery life.
0.96-Inch Colour Displays
Widely used in advanced personal vaporisers, a 0.96-inch colour display provides a sharp, customisable interface. These screens allow users to change background colour schemes, adjust brightness levels, and monitor dual-battery setups where each cell has its own individual voltage metre.
Full-Face Interactive Screens
Modern smart hardware increasingly incorporates edge-to-edge display panels that cover the entire front face of the chassis. These interfaces feature dynamic graphical animations that react as you inhale, along with custom user themes.
A modern vape device with an edge-to-edge full-face interactive display panel covering the entire front.
Advanced Features and Novelty Functions
As display technology has matured, manufacturers have integrated entertaining secondary features alongside core performance telemetry.
Some smart devices now include:
- Interactive Animations: Dynamic graphics—such as spinning gauges, rocket launches, or pulsing soundwaves—that animate across the screen while vapour is being produced.
- Picture Slideshows: Built-in memory profiles that let users load or cycle through digital graphics and custom wallpapers.
- Retro Mini-Games: Select smart displays feature simple, playable retro-style games operated using the device's wattage adjustment buttons, turning the vaporiser into a casual entertainment gadget when not in use.
While these features are secondary to monitoring your vape battery indicator and vape liquid indicator, they highlight the shift toward more interactive personal electronics.
Practical Tips for Maintaining Your Vape Screen
To keep your digital interface readable and responsive throughout the lifespan of your vaporiser, follow these straightforward maintenance habits:
- Protect Against Physical Impact: While modern screen covers are made from durable polycarbonate or tempered glass, heavy drops onto hard surfaces can crack the panel or damage the underlying ribbon cable.
- Prevent Fluid Ingress: Always wipe away excess condensation or accidental e-liquid spills around the screen edges. Liquid seeping into the casing can cause display flickering or line dropouts.
- Avoid Extreme Temperatures: Leaving your device in a hot car under direct Australian sunlight can cause LCD and OLED panels to black out temporarily or suffer permanent pixel degradation. Keep your device in a cool, shaded place whenever possible.
- Clean with Microfibre: Use a dry or slightly damp microfibre cloth to clean fingerprints and pocket lint from the display window rather than abrasive fabrics that can scratch the surface.
Summary
The screen on your vaporiser is an invaluable tool that removes the guesswork from daily use. By taking a moment to understand common vape screen symbols, you can easily monitor your remaining energy through the vape battery indicator, keep tabs on your fluid supply via the vape liquid indicator, and switch seamlessly between Eco, Boost, and Turbo power modes.
Whether you are checking your settings on a streamlined 18W pod system or customising a full-colour 0.96-inch mod display, knowing how to interpret your vape screen ensures a safer, more reliable, and ultimately more enjoyable experience every time you pick up your device.
